How to add slides to your event?
Last updated: May 20, 2025
One of the simple, yet powerful and attendee friendly, features in Videosync is the possibility to use slides as a separate element, synchronized to the video (both live and on-demand). This gives your attendees the control of the content they like to watch - be it full screen video or just slides and audio - and also an opportunity to deliver high-quality content also to attendees with poor network connection (instead of both the video and presentation materials being a pixelated mess).
Furthermore, this gives your recorded content audience a neat way to jump straight into interesting content, using the indexed slide thumbnails as jump points.
From the producer -perspective, there is one more thing that has proven a life-saver many times: replacing the slides is a really quick and straight-forward process. So, if you need to change some slide content, or remove some slides for whatever reason, all you need to do is upload the new slide deck into the system and change the slides in our editor. So instead of editing the video in Premiere, exporting it, and replacing it, which may take hours and manual labor - all you need is a couple of minutes of our easy-to-use recording editor. Please visit Editing and Publishing a Recording for further details about this.
Adding slide decks
Videosync accepts slide decks in all sizes, so it can be 16:9, 16:10, 4:3 or even A4 - and the different sizes can be mixed in the same event player. However, we would recommend sticking to one chosen slide aspect ratio in one event for smoothest participation experience.
💡 **Uploaded slide decks need to be in PDF -format. **
As a result, if your original deck is in Powerpoint, Keynote or something else, please export it to PDF first. And yes, animations are removed in this transition - so if you have slide decks where animations are really a crucial part of the content, you’d probably want to go with a video only streaming format, where presentation materials are shown picture-in-picture.
The workflow is simple:
- Go to Preparation —> Presentation slides
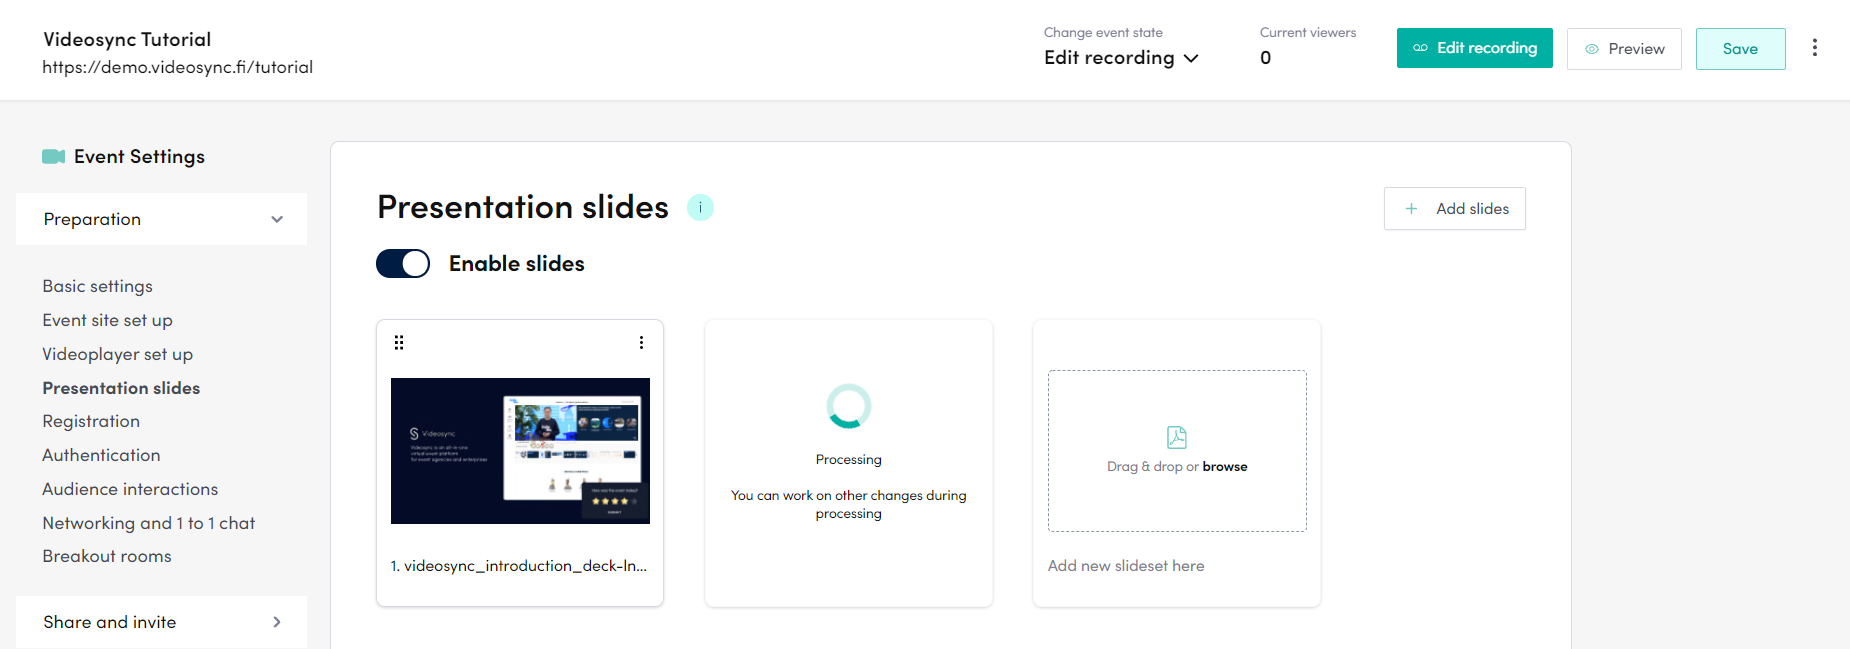
- Drag and drop one or many PDF files into the Drag & drop area, alternatively click to browse files to add
- Videosync starts processing the PDFs - you can add the next set, or work on something else while this is in progress
- Re-order the slide-sets in correct presentation order, by click-and-hold the slide handle (marked red in the image below) and then dragging the slide-set in correct position
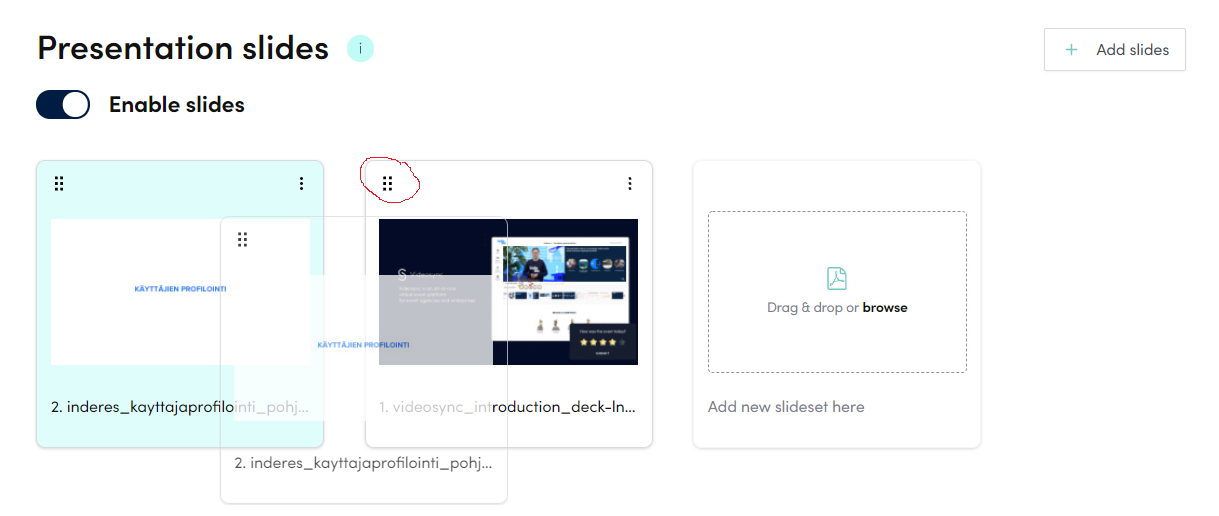
- When ordering is done, remember to click Save for the changes to take effect And that’s it, now your slides are ready to be used in your live event or recording. For more information of how to show and timestamp slides in the live event, please visit Livetool instructions - and for information about how to time slides to a recording, see Editing and publishing a recording.
Can't find what you're looking for?
Our AI assistant is here to help you find the information you need.