How to send event registrations to Zapier
Last updated: August 13, 2025
💡 Videosync trigger in Zapier is in Beta and is not public yet. This means that it is not yet listed in the Zaps section for everyone. If you want to use this feature in Zapier, send us the email address that you are logged in to Zapier and we will send you an invite to use the Videosync trigger.
1. Turn on registration to your event
Open the event that you want to have registration enabled.
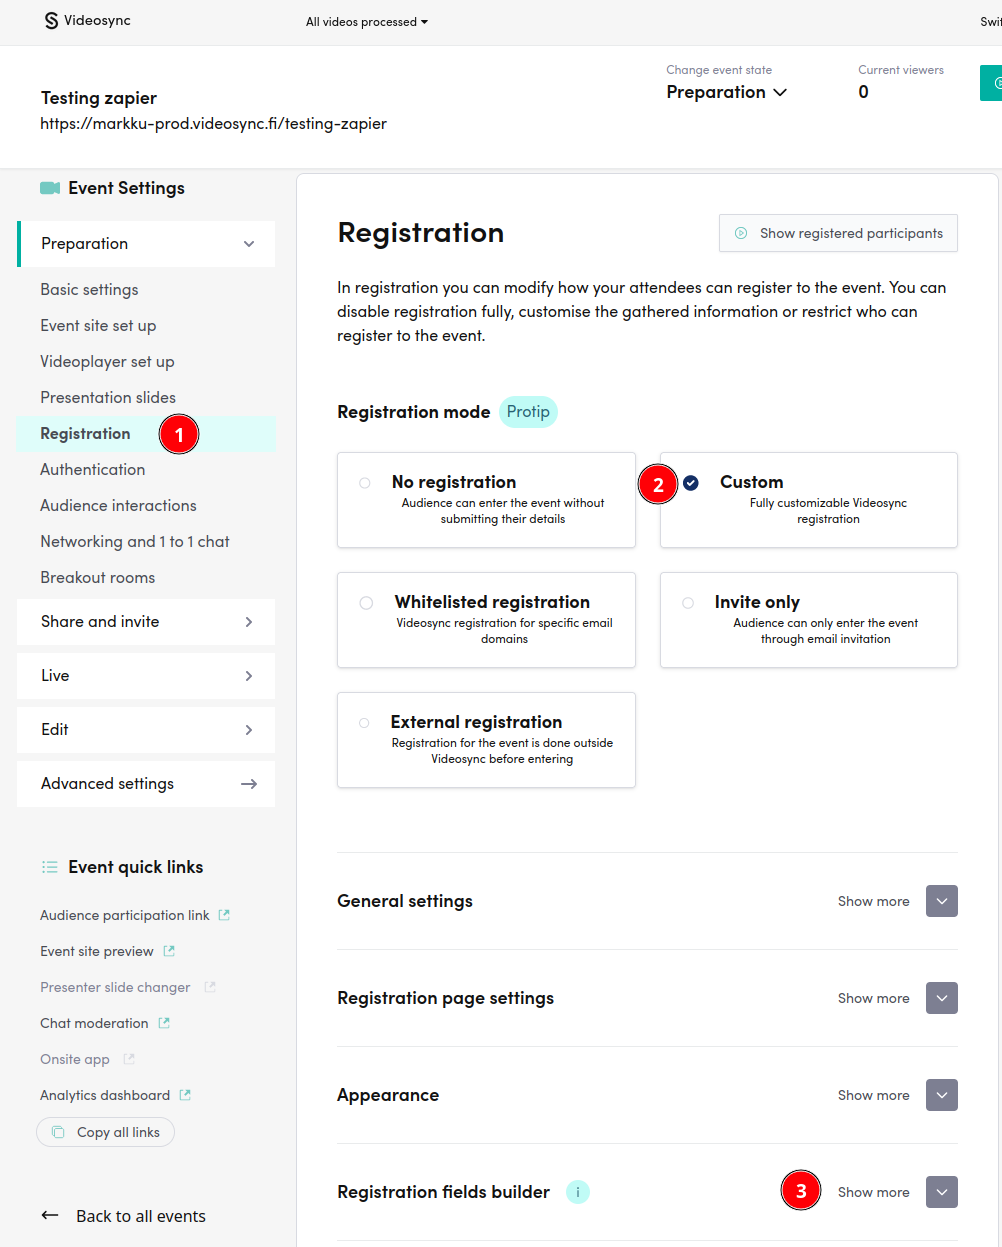
- Click Registration from the sidemenu
- Choose Custom as registration mode
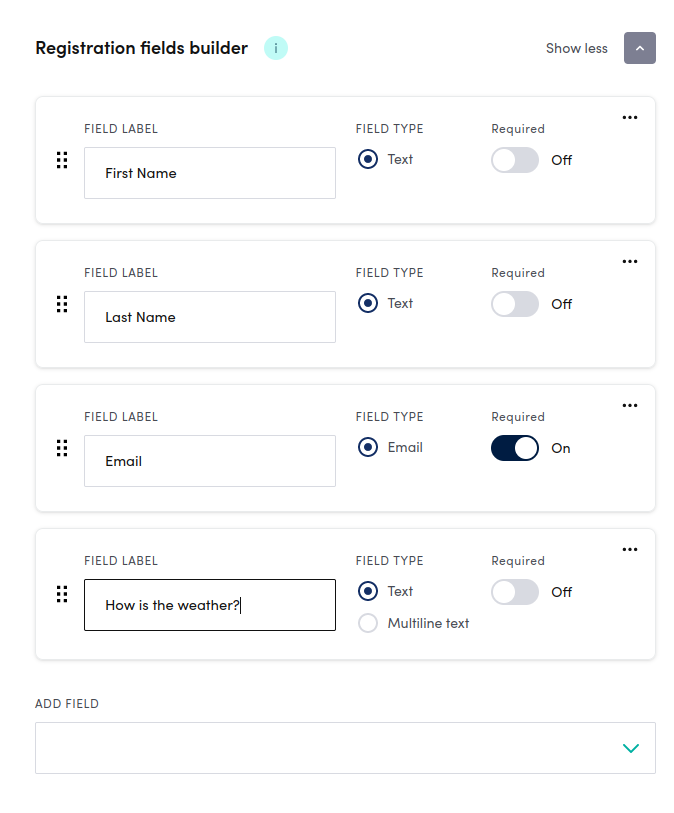
- Open Registration fields builder
From here you can add new fields as you like. For example purposes, I added one new field to ask for weather. When you are done, Save the event.
2. Create test registration to the event
We need some initial data in Videosync to get the field mappings working in Zapier so go on and create one test registration to the event.
3. Create an API key which will be used in Zapier
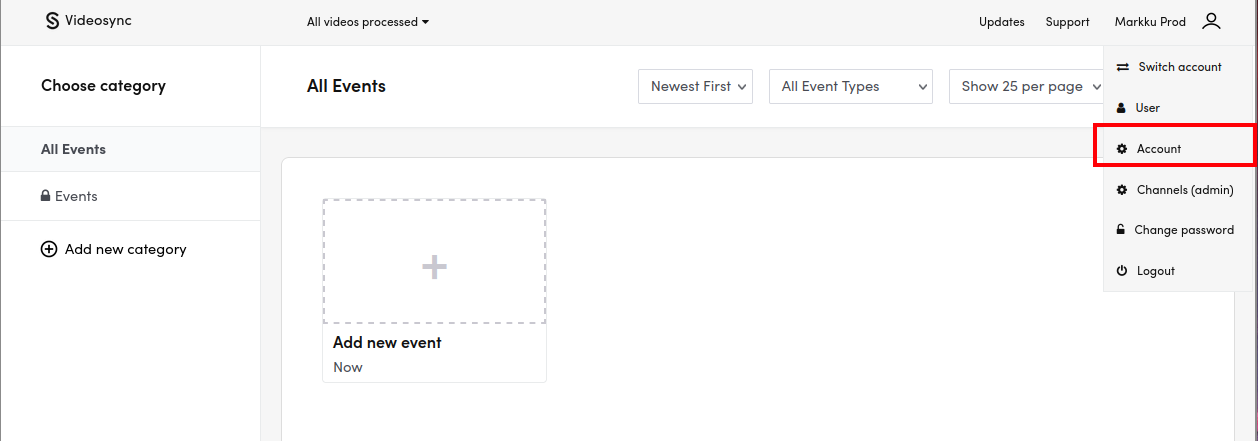
Click upper right corner to open dropdown menu.
Click Settings (1) and then in API keys section (2), enter some description text where this key will be used and then click Generate new api key button
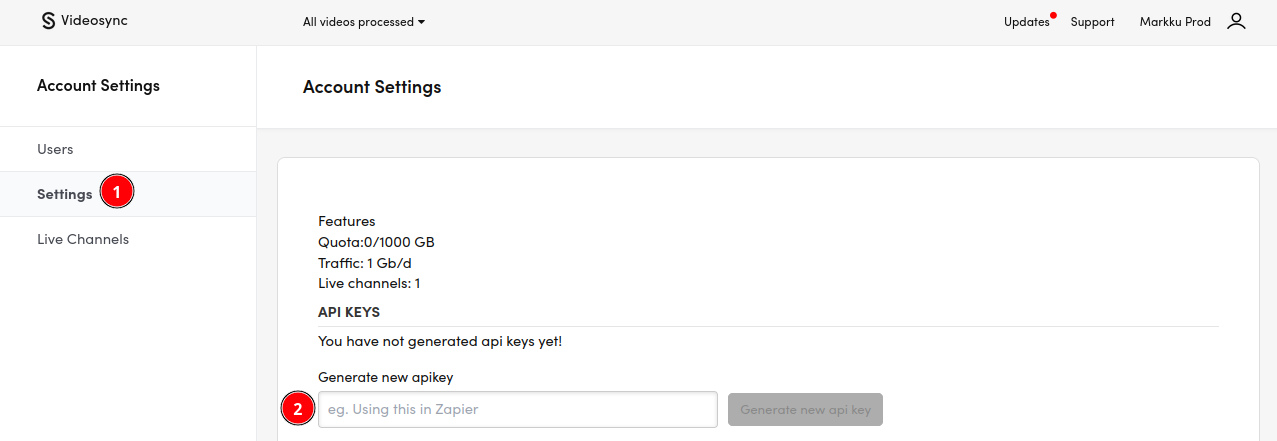
It will generate the key and it will not show the key right away, you need to click the eye icon.
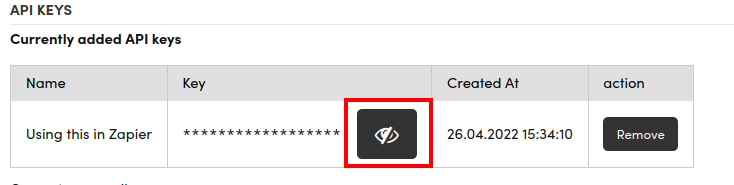
Now you can select this key and copy it when you need it in Zapier.
4. Adding Videosync trigger to your Zapier account
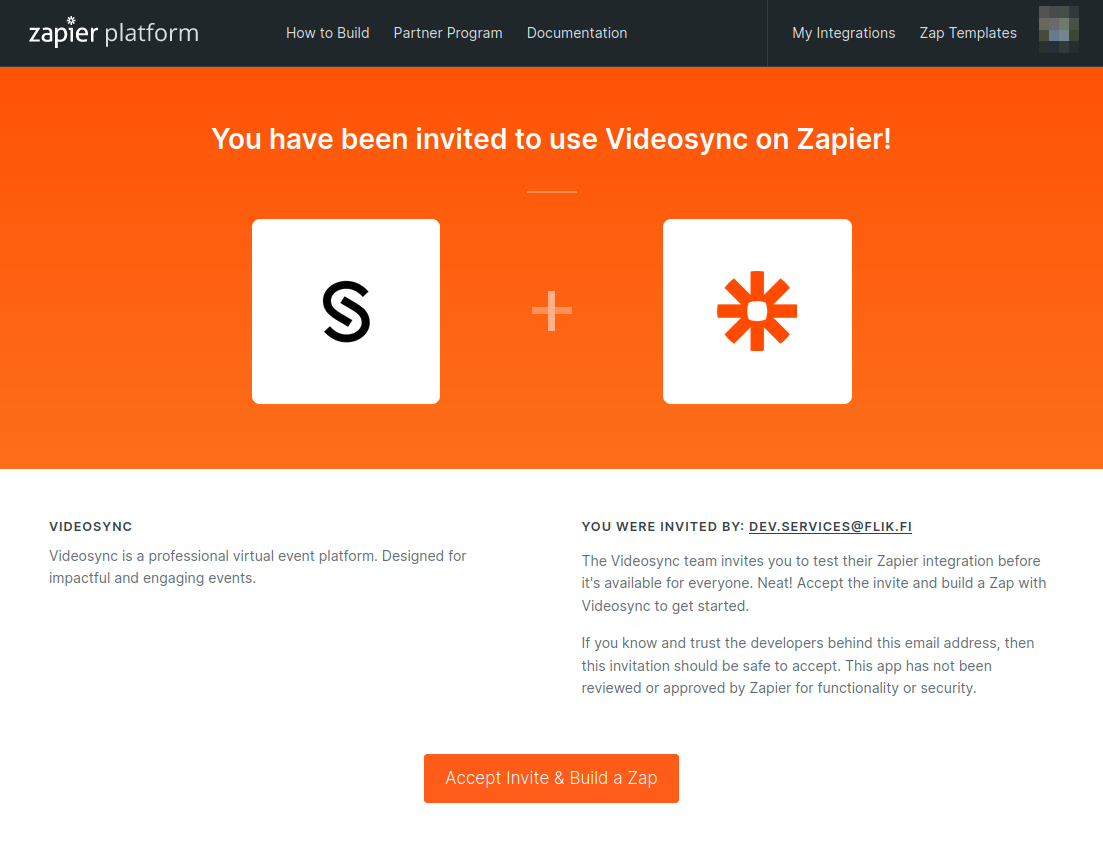
Check your mail for the invitation from Zapier. Accept the invitation by going to the link and click the Accept Invite & Build a Zap button.
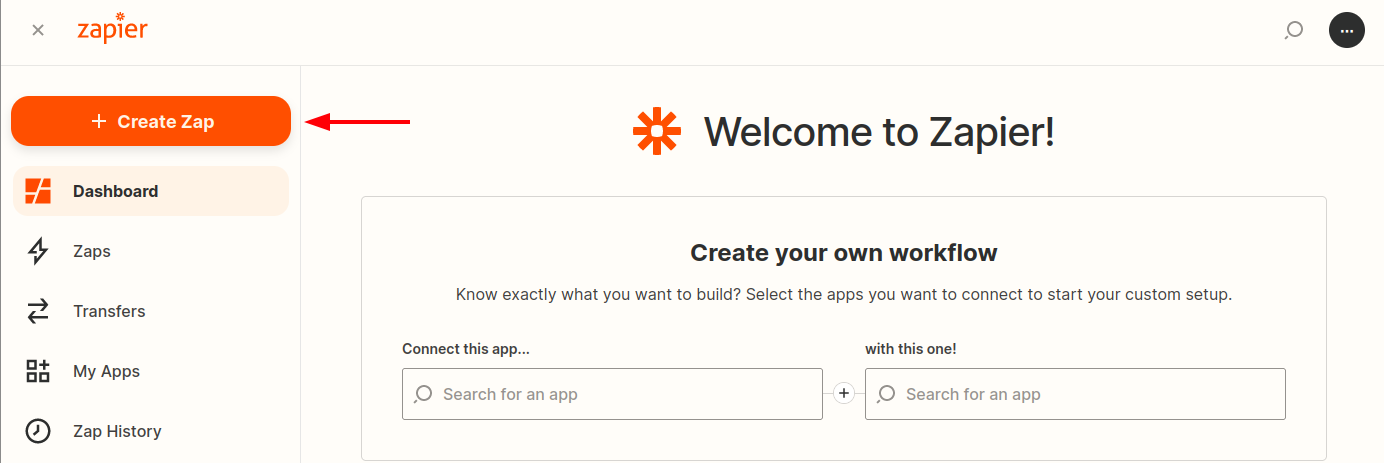
Click the +Create Zap button.
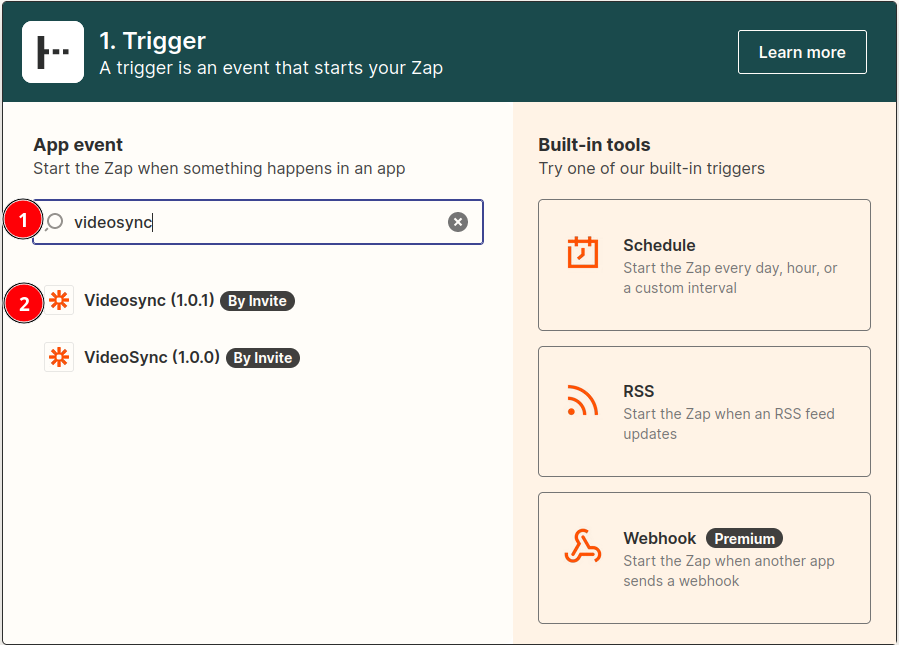
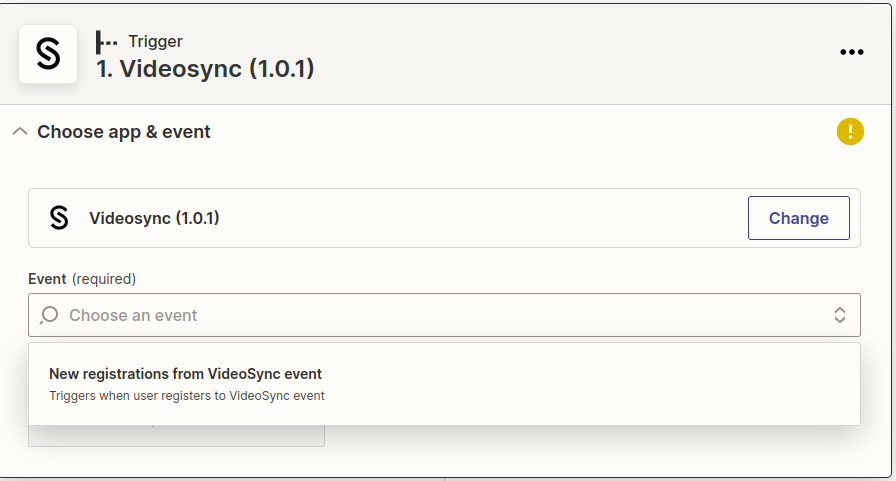
You should be presented with Zap “wizard” where you first select the trigger. Start typing “videosync” and it should be shown under the search bar. Choose the version we have invited you to (you should only have one version shown).
Choose the event (Currently only New registrations from VideoSync event) and click Continue.
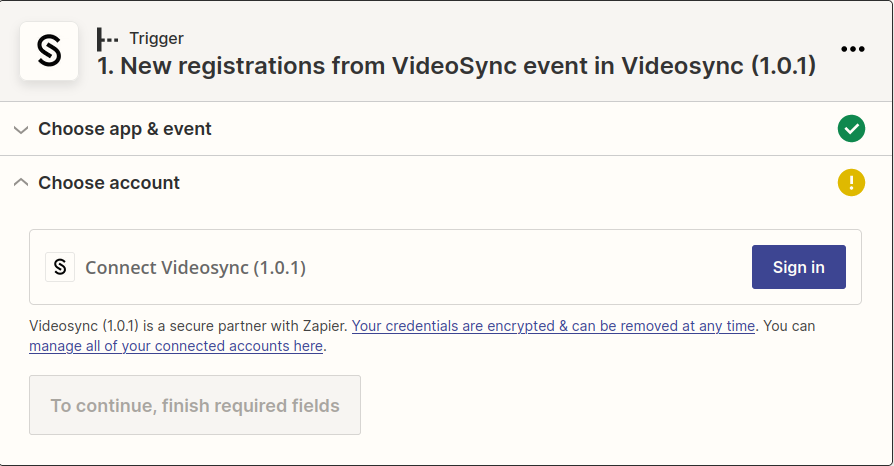
Let’s connect the Videosync in Choose account section!. Click Sign in button.
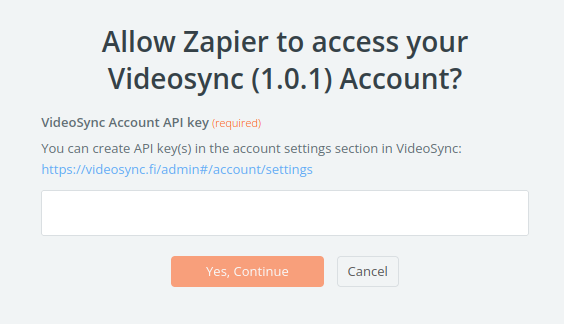
This will open a new window which ask you for the API key that we created earlier. Go ahead, paste that in and click Yes, Continue.
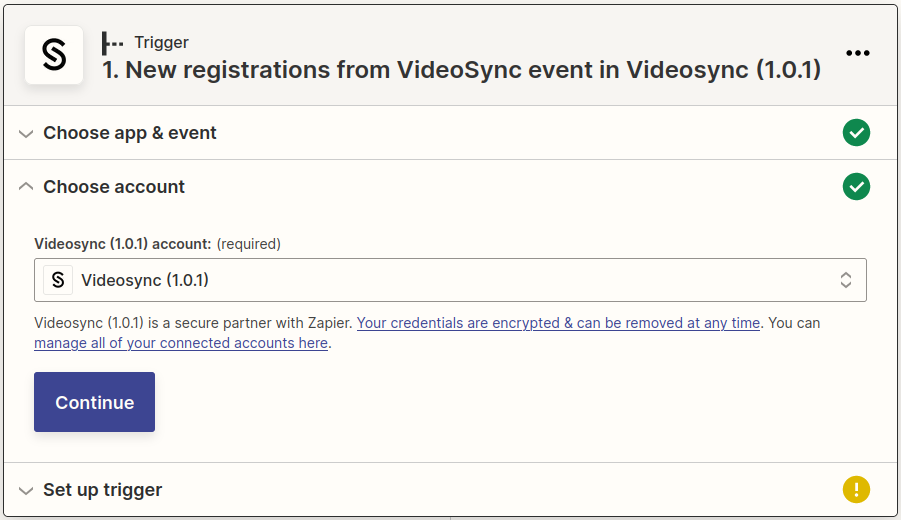
After succesfull connection, it will close that window and you can click Continue.
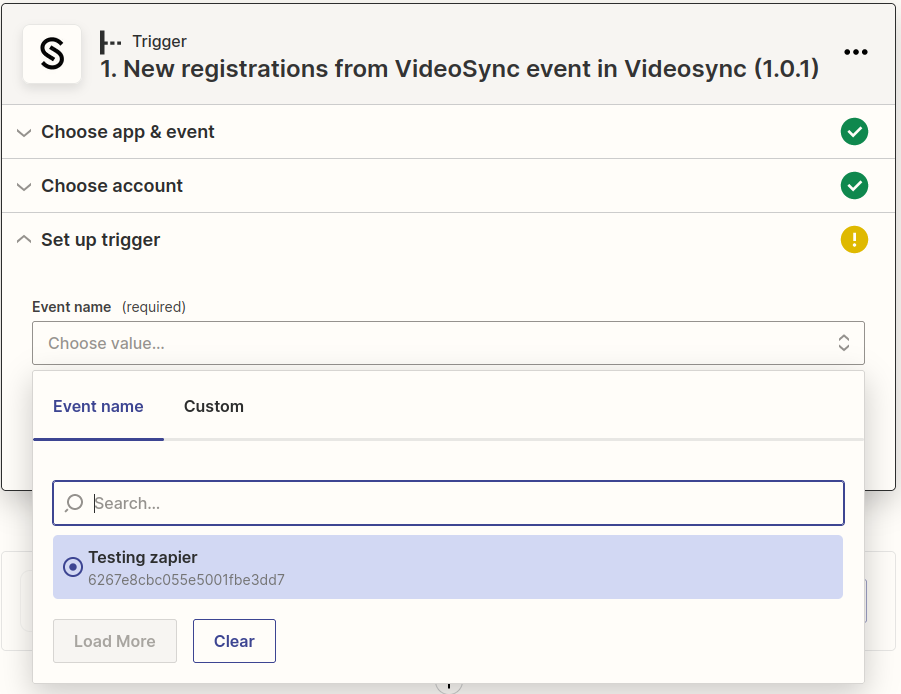
Next we get to the Set up trigger part where we will define which Videosync event triggers this Zap. You should see all events and choose the one that you want to listen for registrations to pour in. After you have chosen the event, click Continue.
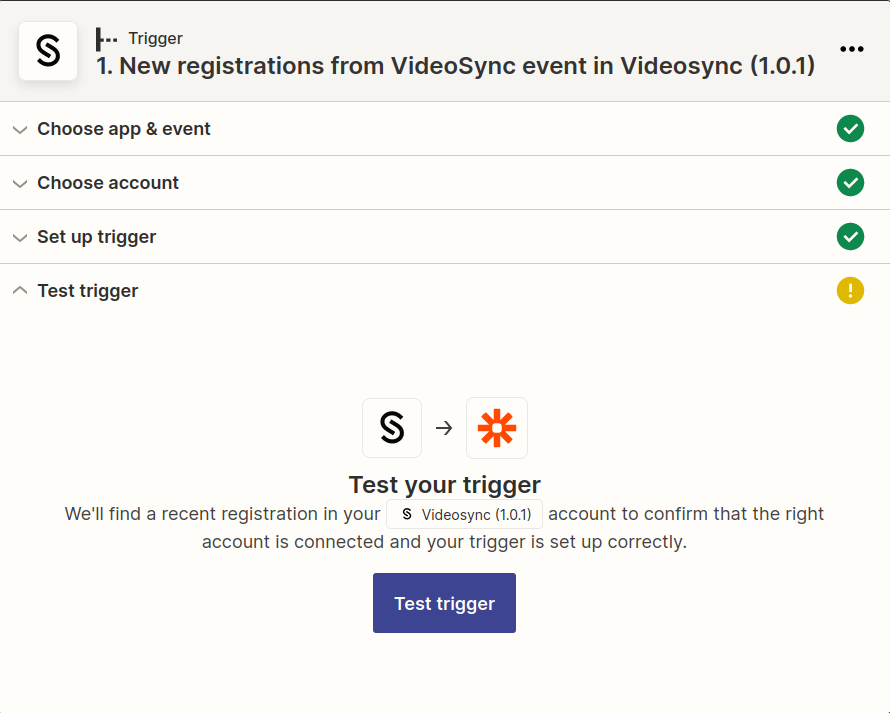
Test trigger section is where we see why we needed to create one test registration. Go ahead, click that Test trigger button!
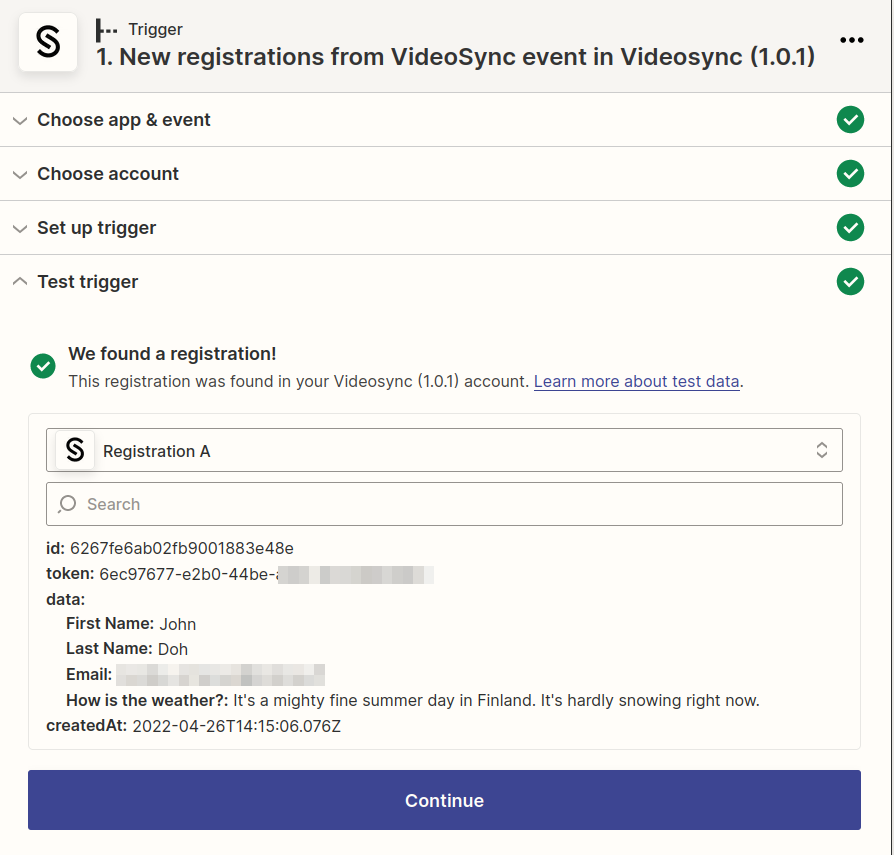
If all went well, we should see our registration data. When you click Continue, it will take you to the next section Action, where you setup what to do with the registration data from Videosync.
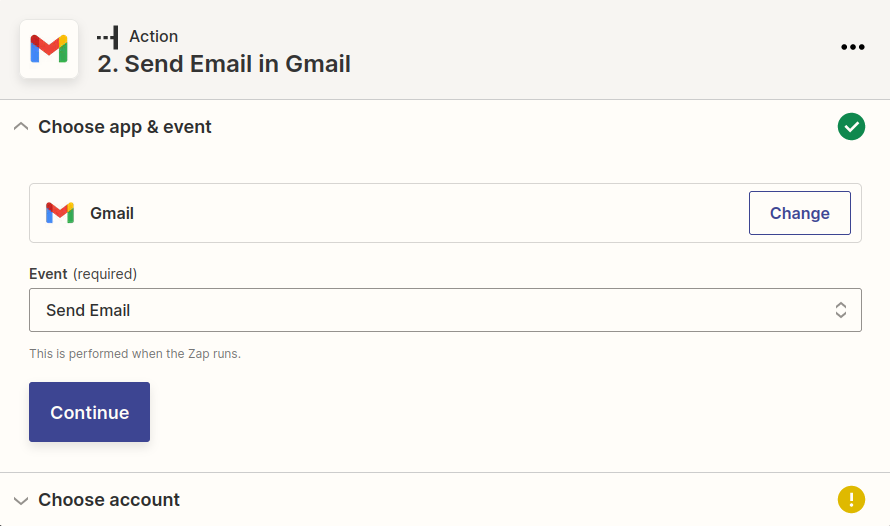
5. Adding action to Zapier (what to do with the data)
💡 This section is somewhat more vague than setting up the trigger. As an example, I will send an email using Gmail to my gmail account with the registration data. But this could be any other service that Zapier has an app for. Filling out the fields should be quite similar in every service.
Choose app & event
Choose account
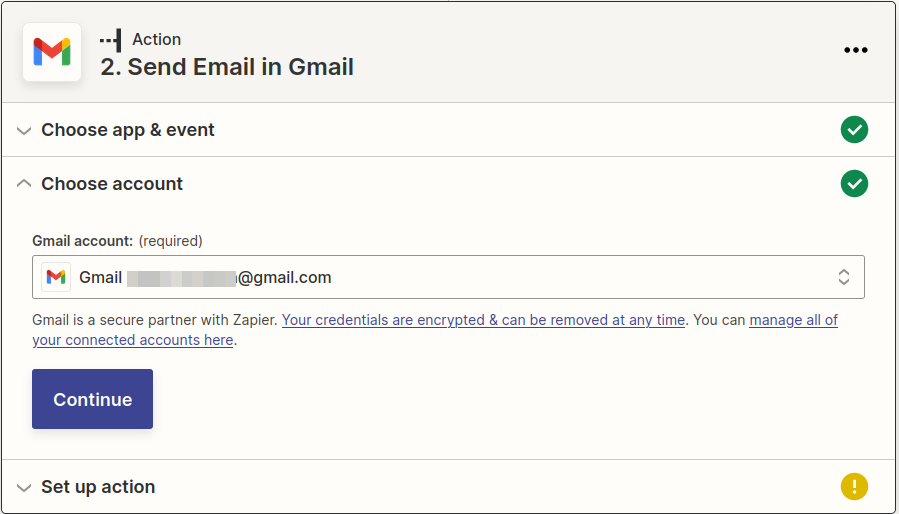
Setup action
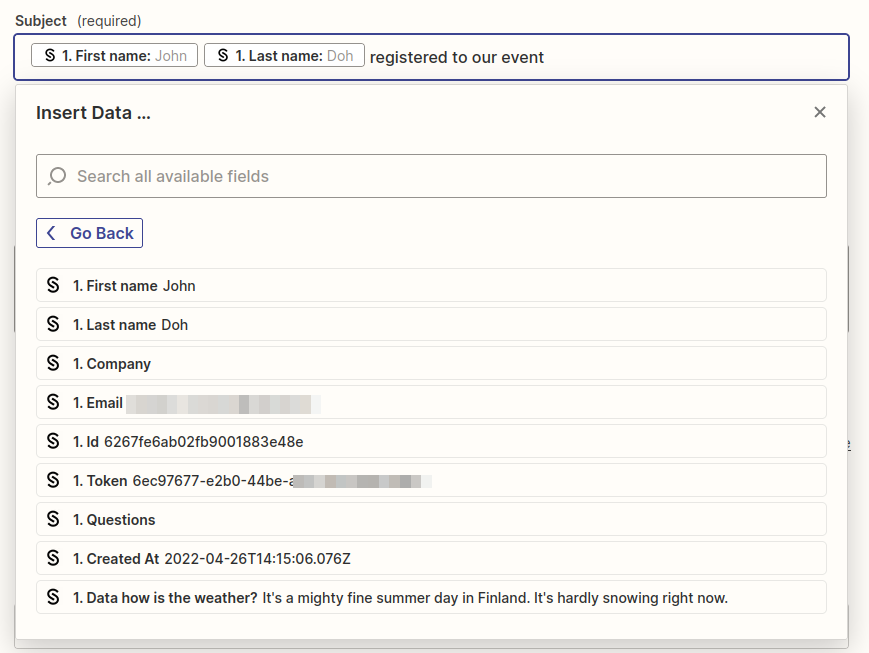
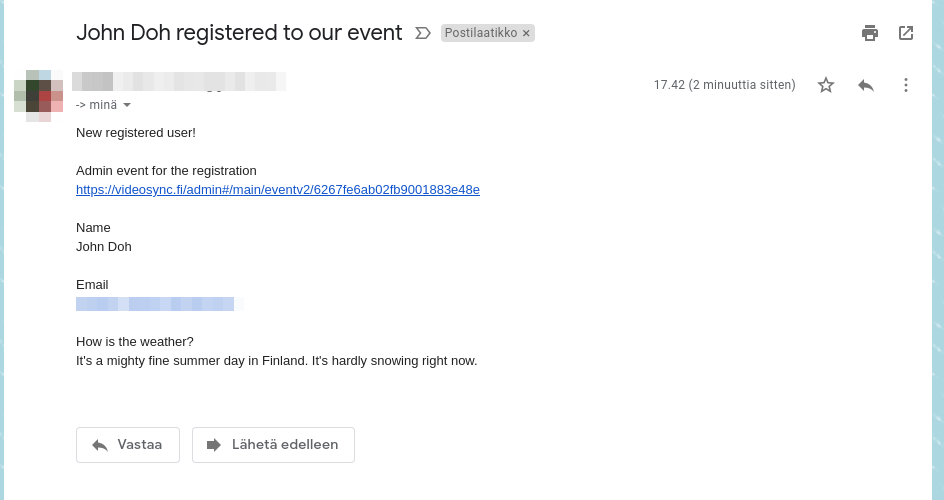
In this example, there will be email related fields like To, From, Subject, Body etc. Heres for example if we wanted to have subject contain the registered user’s name. You can just write text and pick those fields from the list. It might also show some additional fields that you have not setup but that’s okay, you can ignore them.
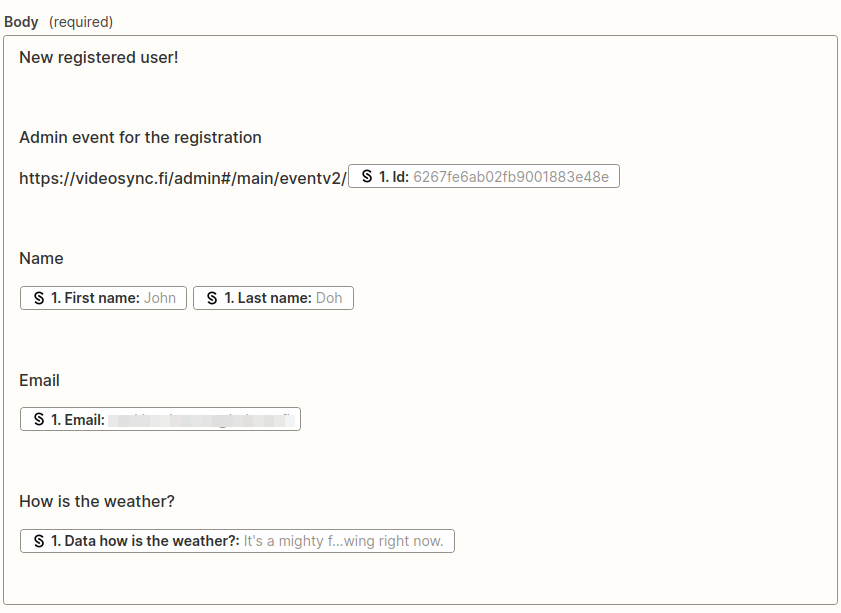
So for example in the body you can insert the fields like this:
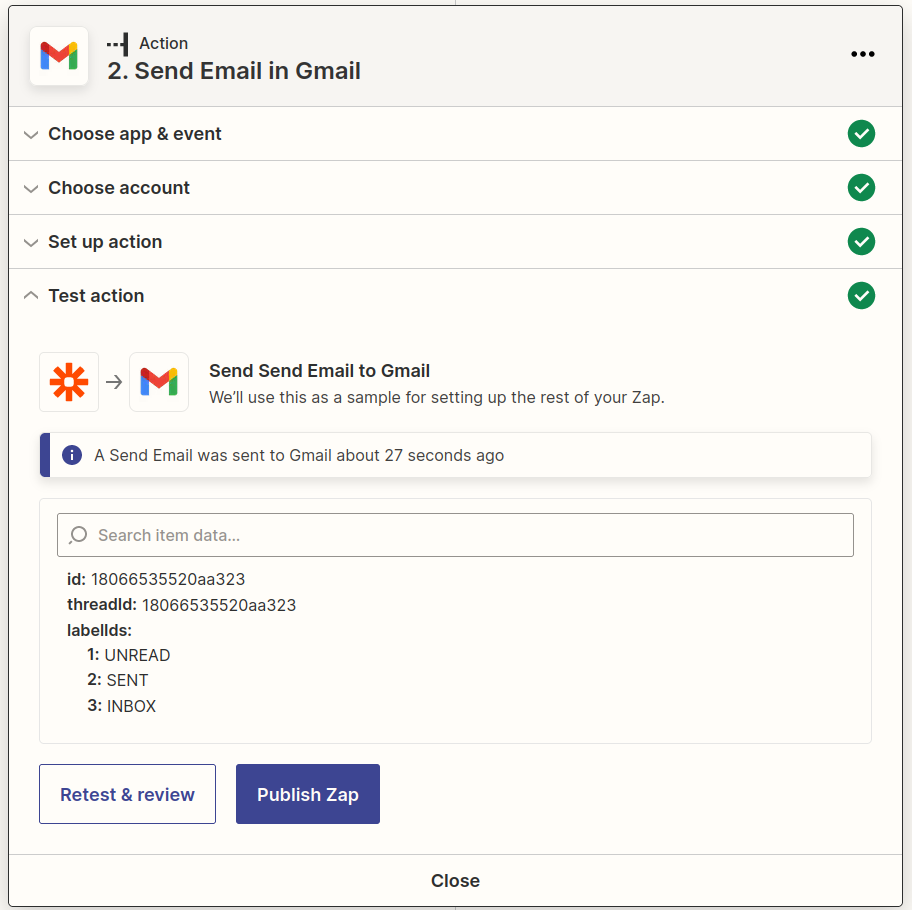
After that you can click Test & Review to see if it works. After succesfull test you should have received mail and after this you can Publish Zap!
Can't find what you're looking for?
Our AI assistant is here to help you find the information you need.