Working with transcripts
Last updated: September 15, 2025
Contents in this section:
Transcripts introduction
Videosync has support to automatically create transcripts of the published audio & video recording content.
In order for the transcript to be of good quality, the spoken content needs to be one language only. If the spoken language changes during the recorded audio, the automatic transcript creation will not be able to generate a high quality transcript.
⚠️ Note that the automatic transcript creation is using LLM for speech recognition, analysis and text generation. Furthermore, Videosync is enhancing the quality of the transcripts by letting LLM analyze the event slide deck, and refine the outcome of the transcript based on the content in the slide deck. Currently we are using OpenAI for this refinement.
Transcript functionality works with “Latest version only” logic. This means that whenever you generate a new transcript, it overrides the previous one.
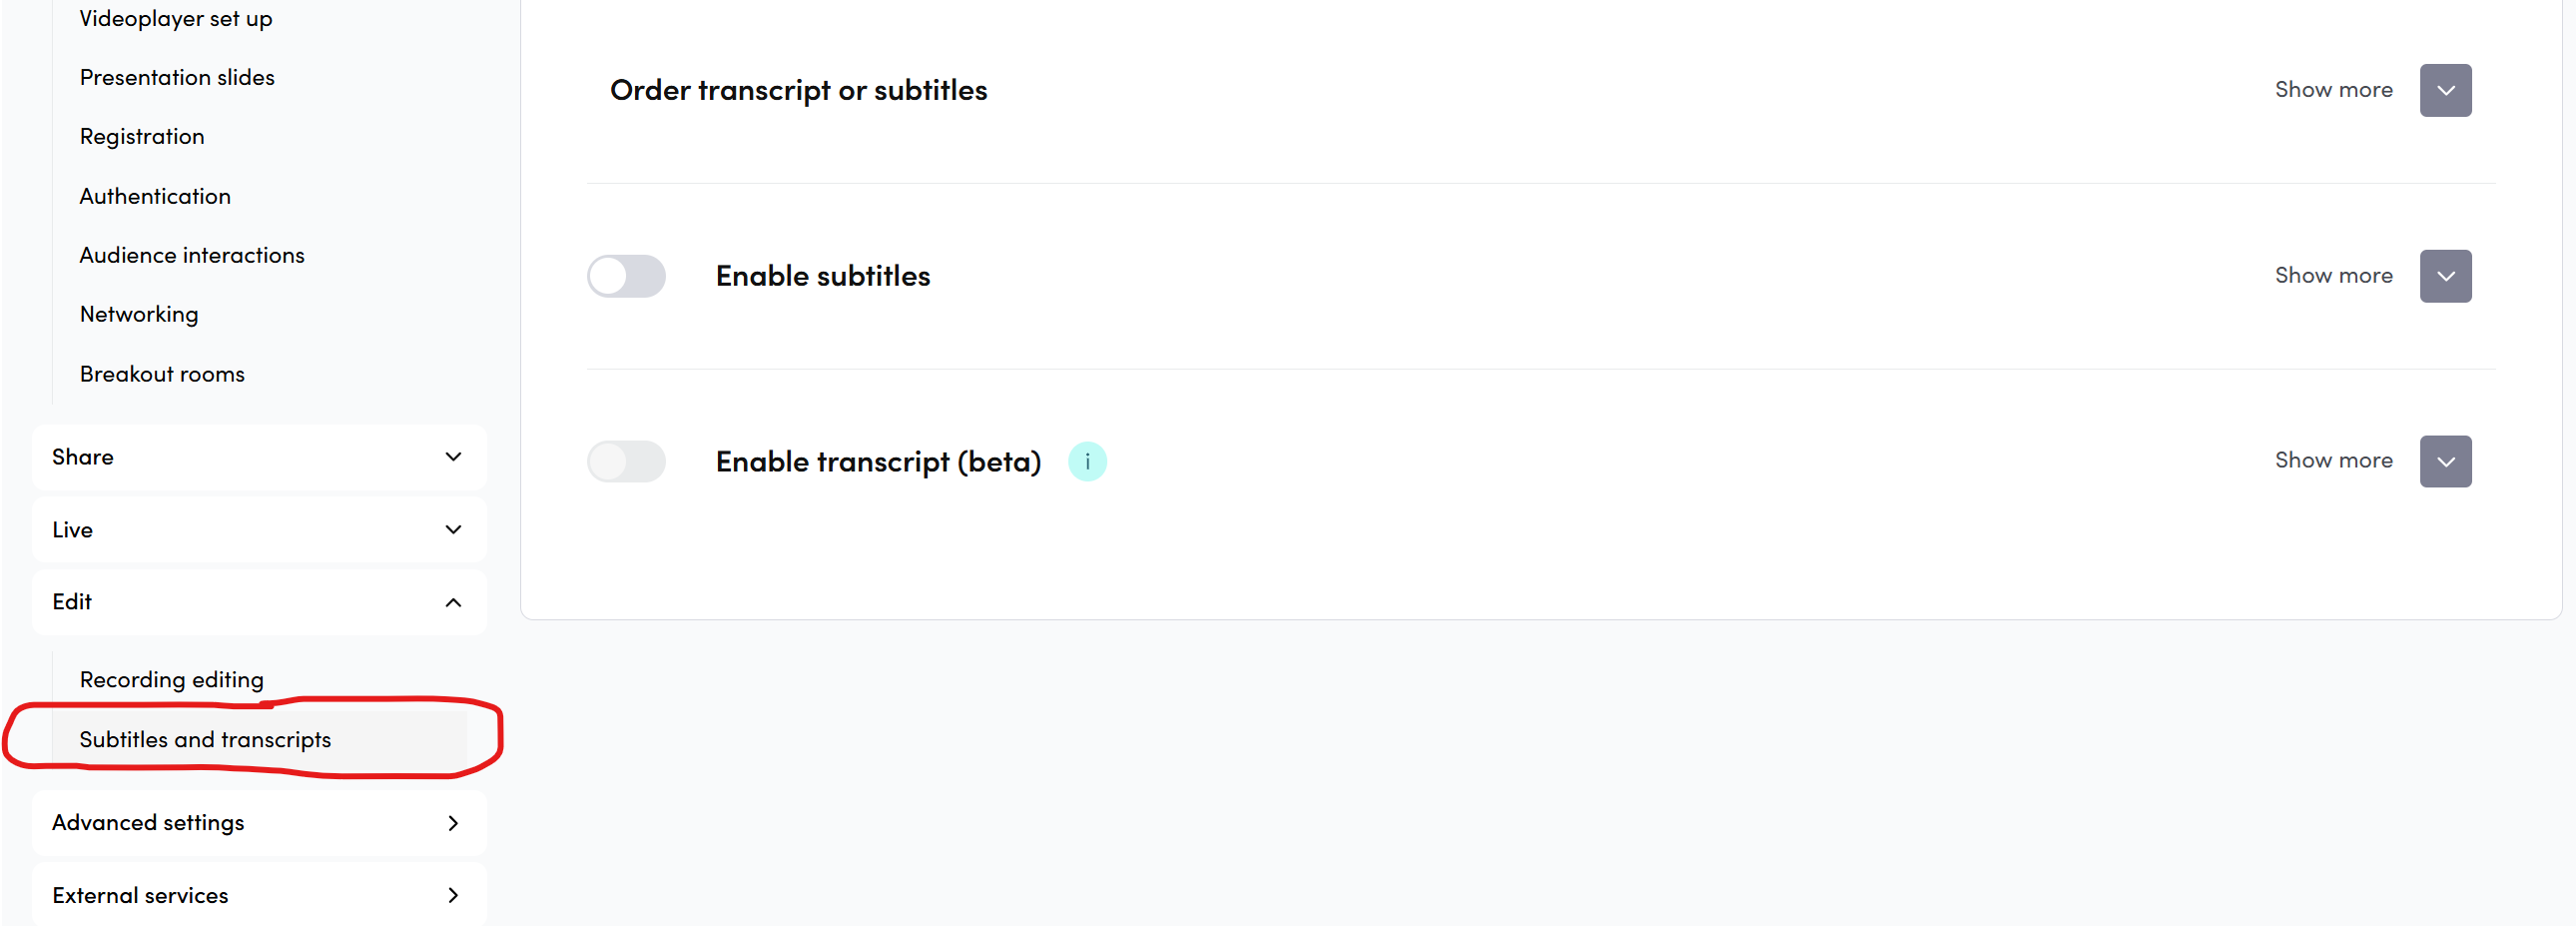
There are two alternative methods to create a transcript. Both these options are managed from Edit → Subtitles and transcripts (see image below).
Setting transcript to generate automatically
This action can be done only before the event recording has been published. Typically this setting would be applied when the event is being crafted well in advance to the live event.
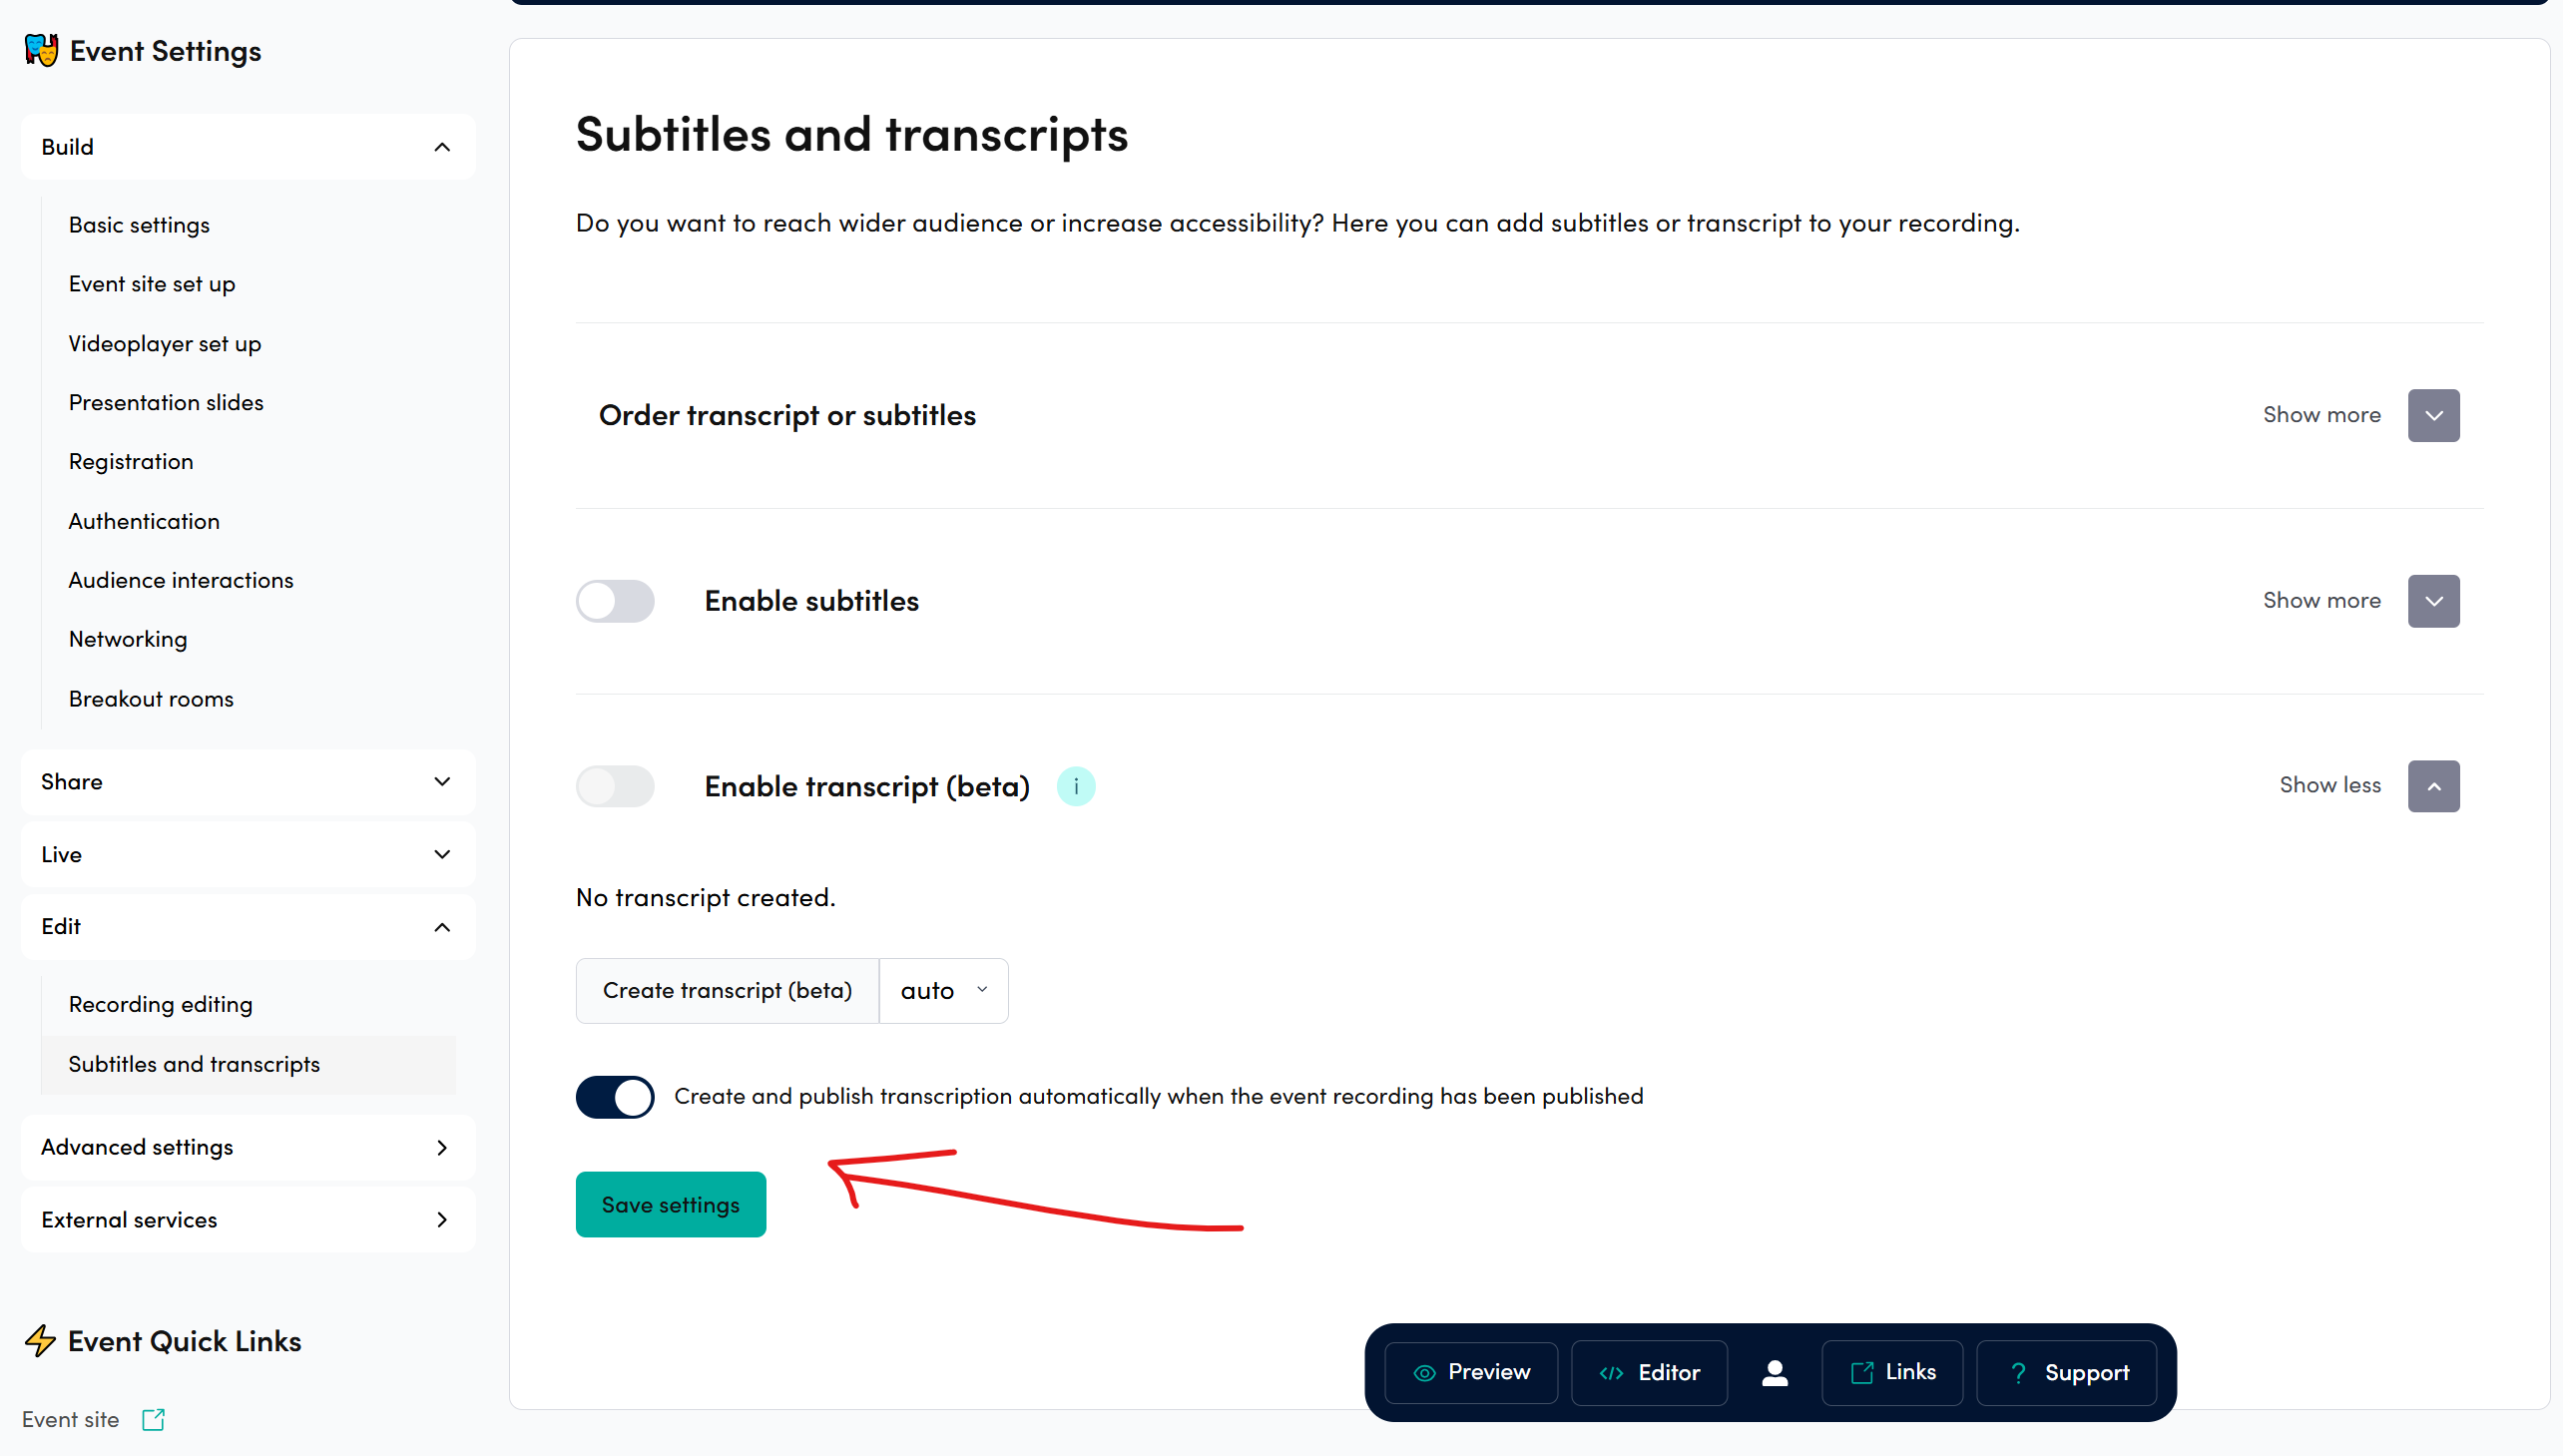
To toggle automatic getranscript generation on, activate the toggle and click Save settings below the toggle (see image below).
When this setting is activated, the transcript will start generating as soon as the event state is Publish recording. Transcript generation takes about 15 minutes per one hour of content. The transcript appears in Subtitles and transcripts -section when it has been finalized.
Note that this means in practise that if you would do some rehearsals in your event, and publish the recording at some stage prior to the actual live, the transcript would be generated of the rehearsal.
Post event transcript generation
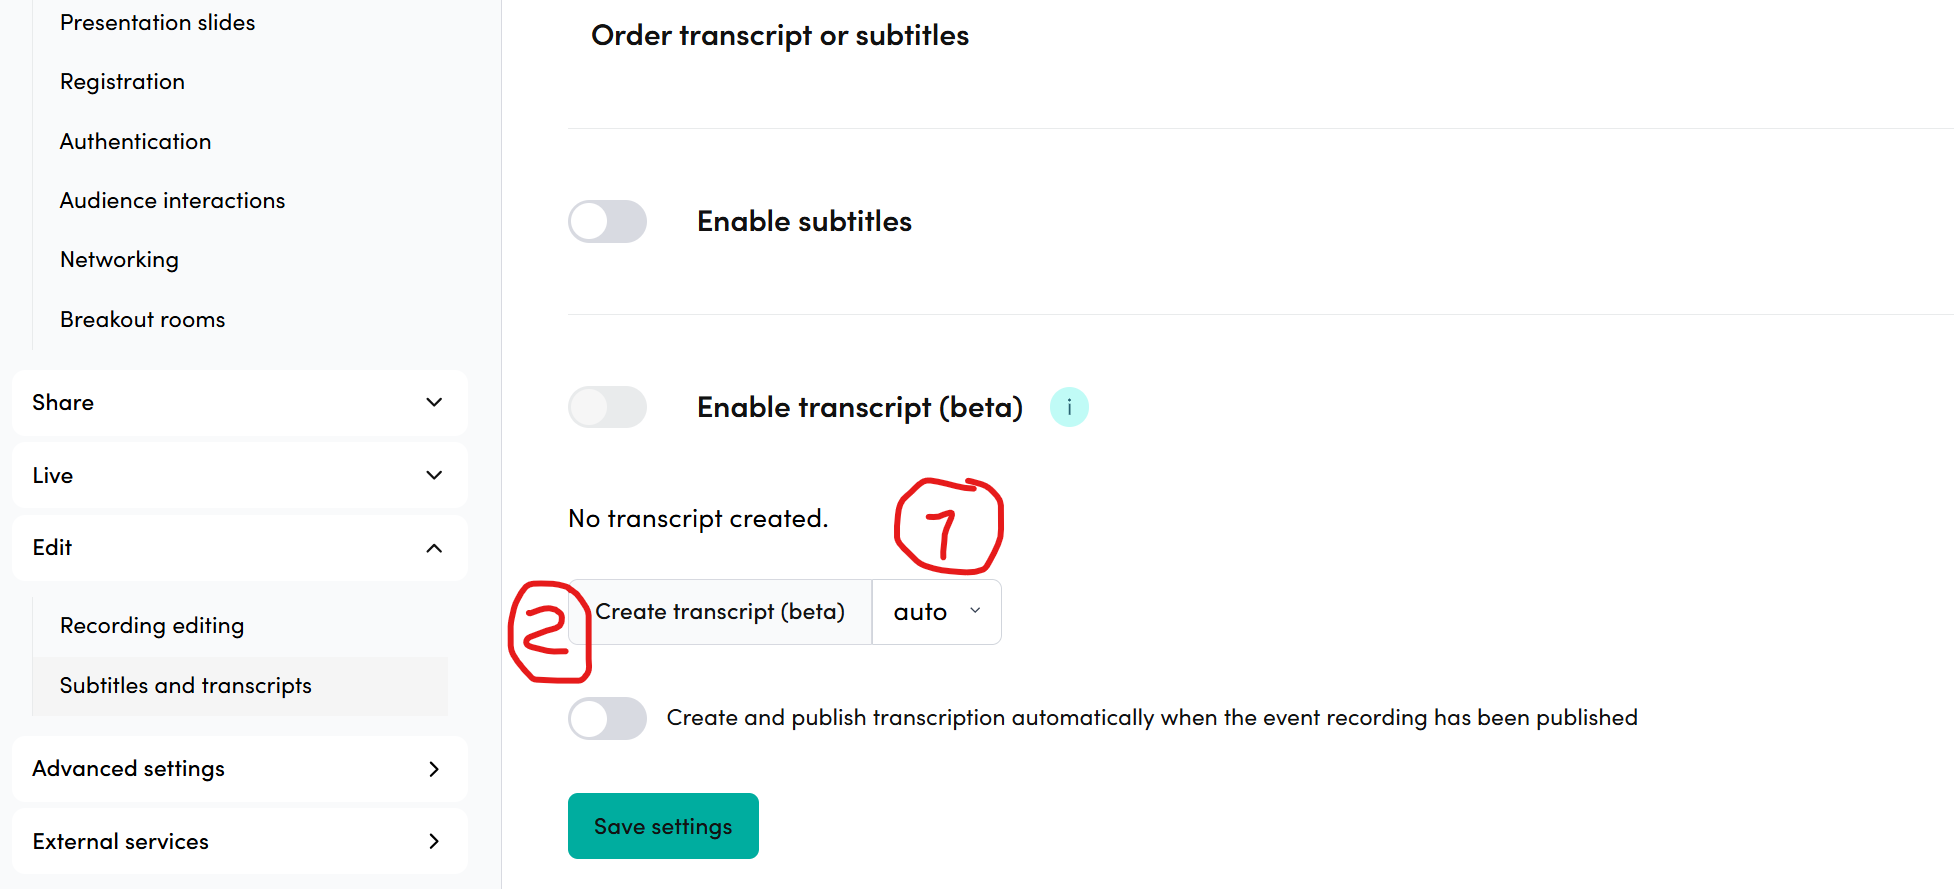
To create a transcript for recorded content, just
- Select the language from the language selector (if you can’t find the spoken language from the drop-down, leave it on auto, as the system will recognize the spoken language from speech)
- Click Create transcript, and the transcript will start generating
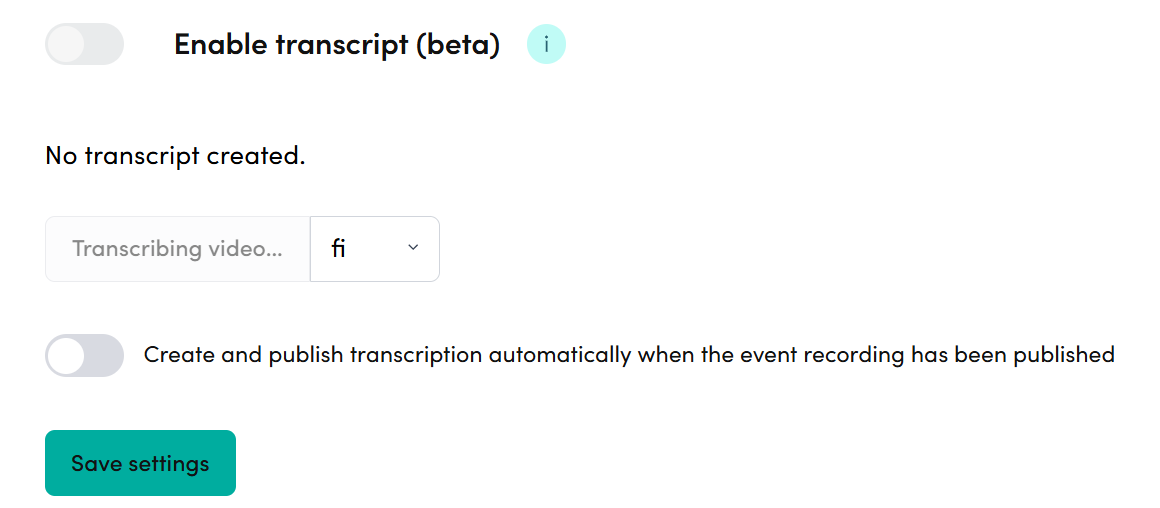
- When you see Transcribing video… in place of the button, the transcript generation is in progress
Showing the transcript in the content player
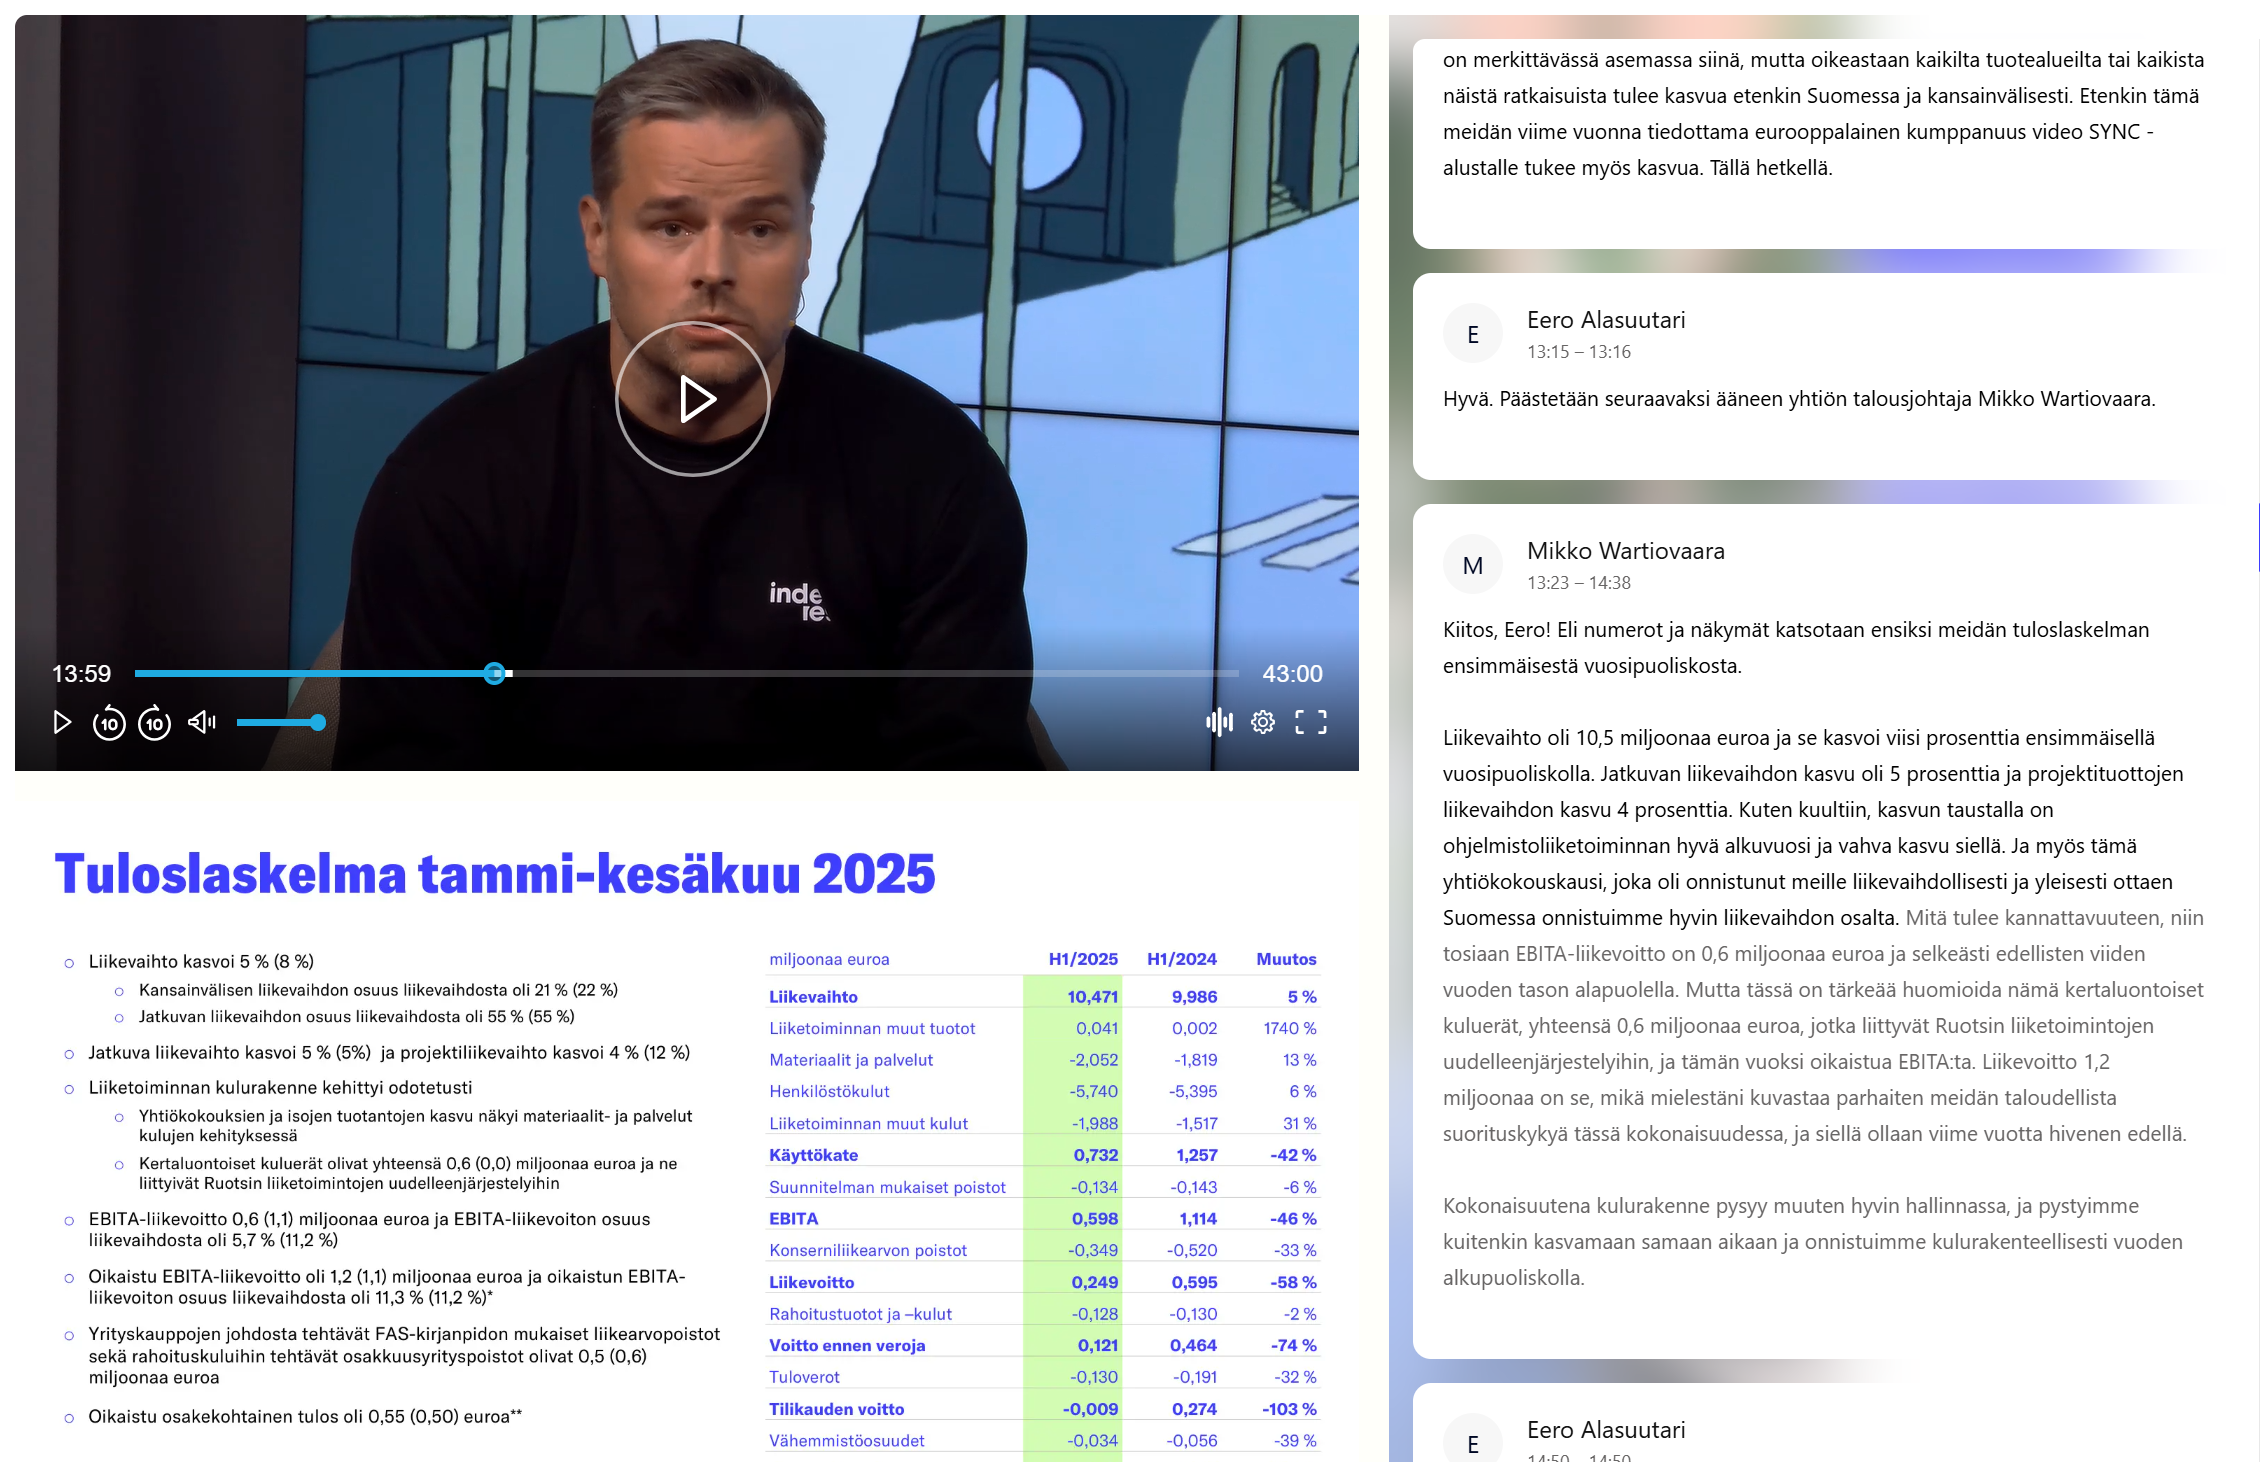
Integrating the transcript in the content player element is a powerful feature as it gives your audience a possibility to consume the content in format that they appreciate the most. Furthermore, enabling the transcript also gives your audience a easy super-power to copy the transcript and feed it to LLMs for various tasks, such as summary / key takeaway extraction etc.
Intergrated content player transcript automatically follows the spoken audio content, and it can also be used to navigate in the audio. Image below shows how the transcript is being displayed in a content including also video and presentation slide assets.
⚠️ **Note that the integrated transcript only works with the “New event site”. New event setting can be turned on from event Basic settings. **
If you want to disable showing the transcript in the player, just toggle off the Enable transcript, and vice versa to show it.
Transcript export and recreation
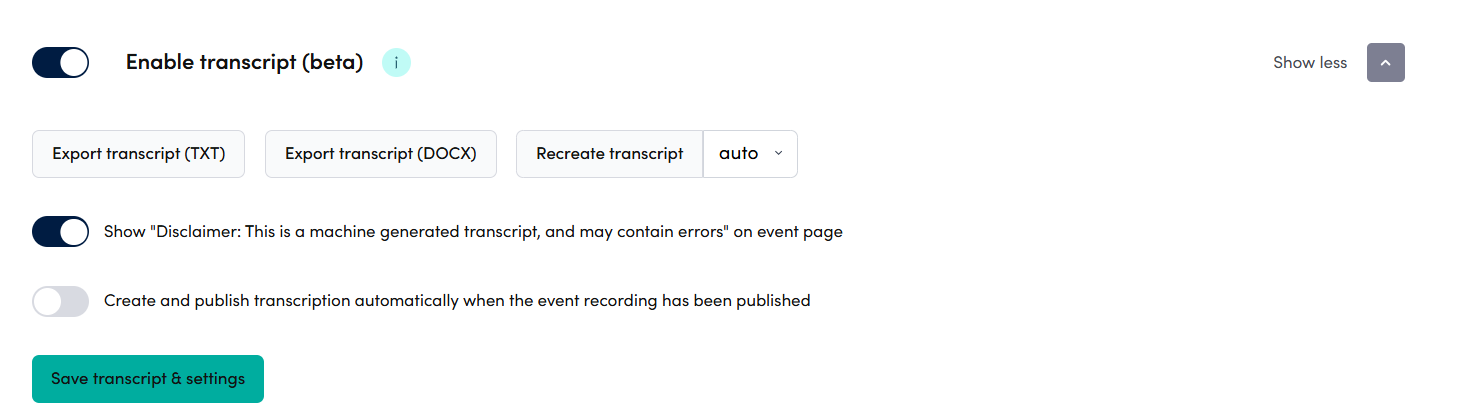
When the transcript has been generated, it shows up in the Subtitles and transcripts -section. See image below. In this view you can
- Export the transcript as text -file, by clicking Export transcript (TXT)
- Export the transcript as MS Word Doc -file, by clicking Export transcript (DOCX)
- Replace the transcript with a new version, by clicking Recreate transcript
Transcript editing
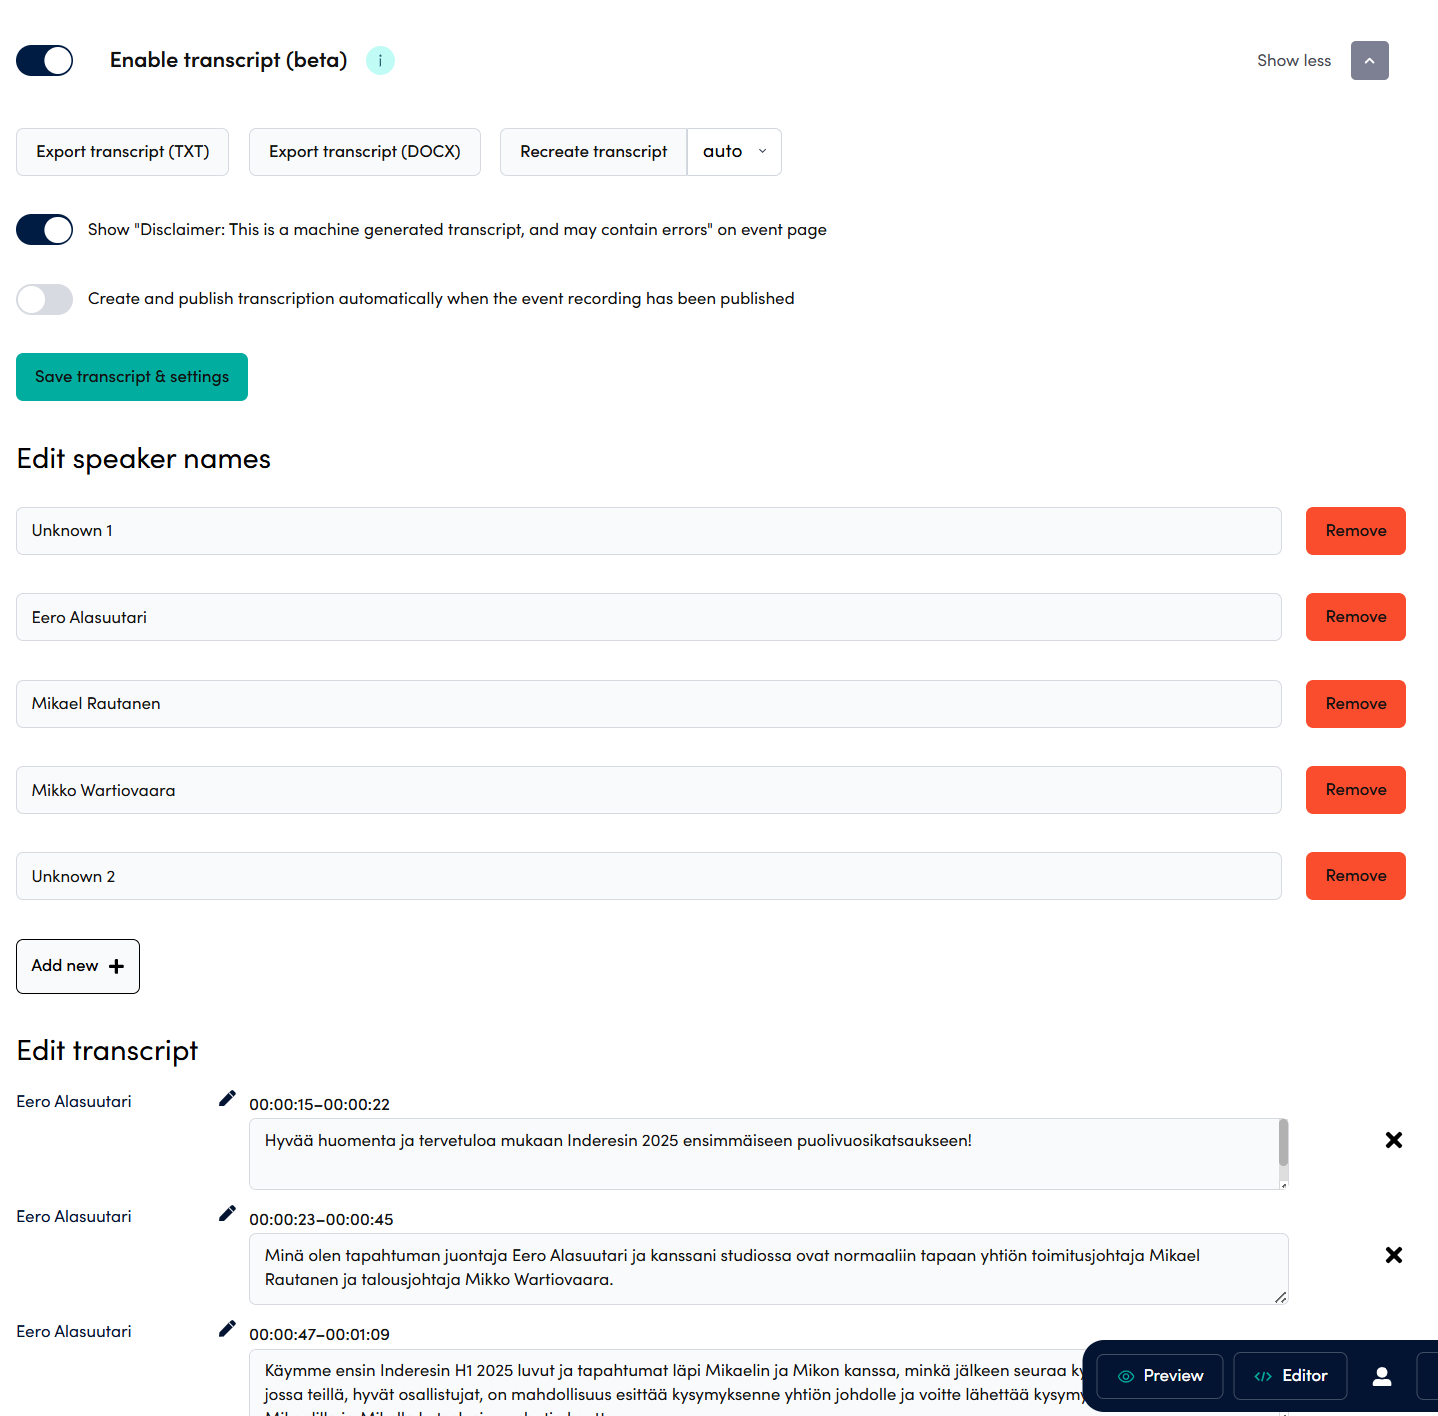
All the content in the transcript can be edited with Videosync’s built-in editor.
To change name of a speaker, edit the pre-generated speaker names in the Edit speaker names -section, or generate a new one by clicking Add new +.
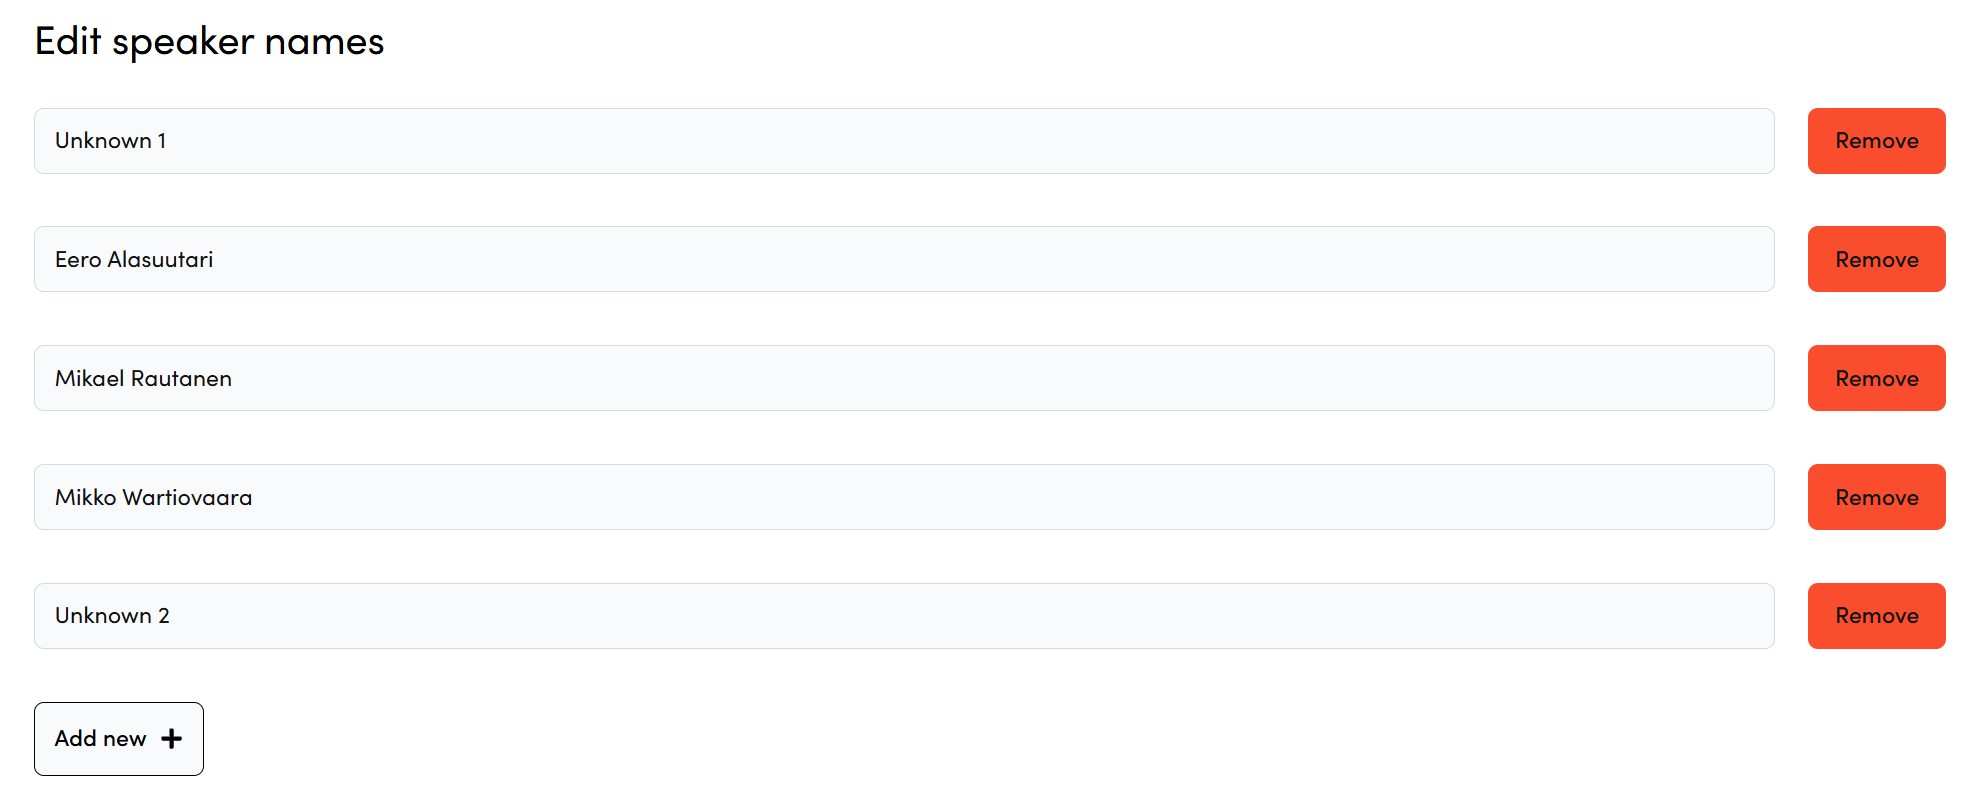
When you edit a speaker’s name in this section, the change will automatically update that speaker’s name throughout the entire transcript.
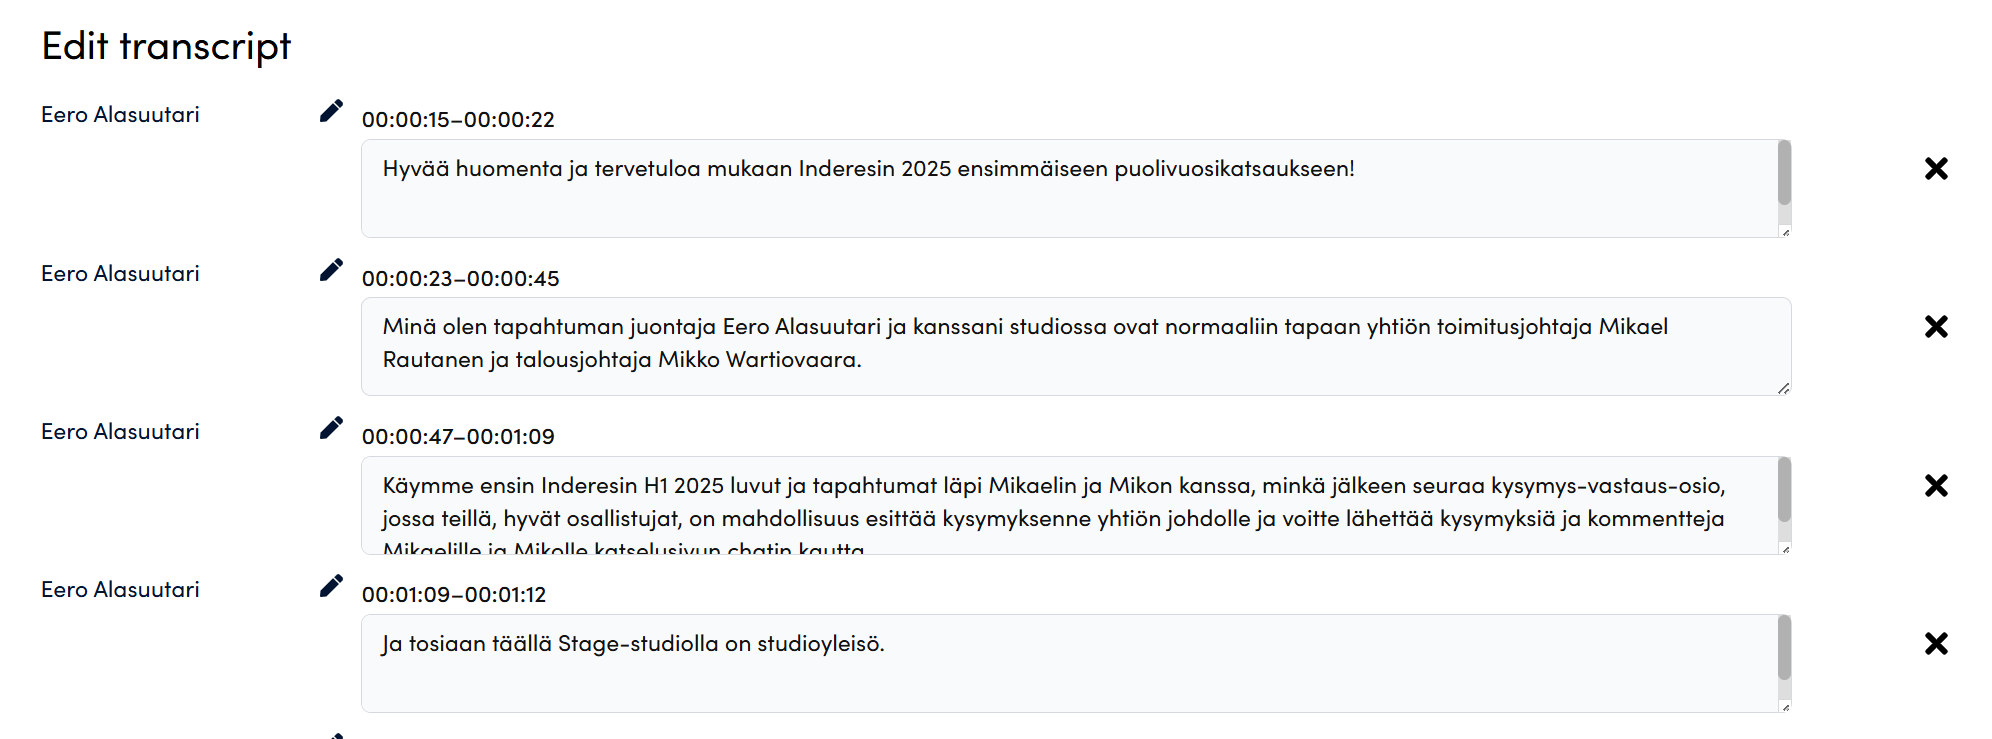
To edit the transcript content:
- Remove paragraphs: Click the × icon next to any paragraph you want to delete
- Edit text: Click directly on the paragraph content to modify it Important: You must click “Save transcript and settings” for all changes to take effect.
Can't find what you're looking for?
Our AI assistant is here to help you find the information you need.